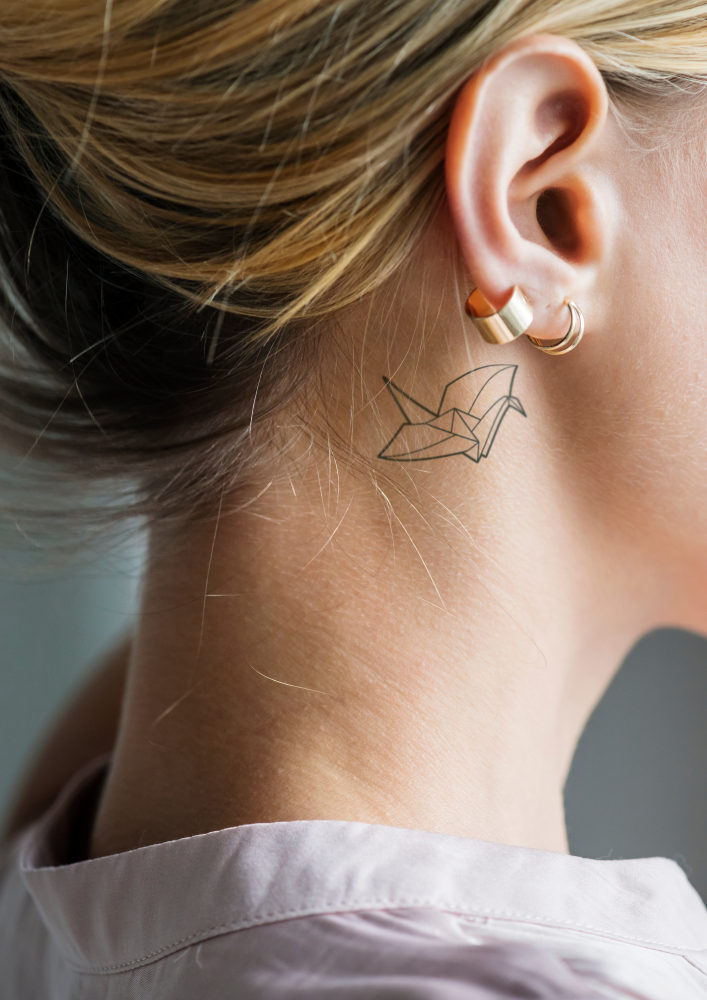
Wildlife realism is one of the most technically rewarding niches within the black and grey realism discipline. Animals offer an almost infinite range of subjects — from the intricate texture of a lion’s mane to the complex geometry of reptile scales — and clients who want their pets, totem animals, or wildlife subjects rendered with photographic accuracy represent a large and consistent market segment.
But wildlife realism demands more than general realism skills. Each major texture type — fur, feathers, and scales — requires a specific technical approach. This guide breaks down each one.
Why Animals Make Excellent Realism Subjects
Animal subjects have several properties that make them particularly suited to the realism treatment:
They have complex, distinctive textures that showcase a realism artist’s technical range. They carry emotional resonance for clients — particularly pets, which generate some of the most meaningful and invested memorial tattoo commissions. They’re visually striking in monochrome, which suits black and grey perfectly. And they offer enormous subject variety within a single niche — a wildlife realism specialist can build an entire career without repeating a subject.
Pet portraits in particular are a growth area within the Australian tattoo market. The emotional investment clients bring to a memorial portrait of their animal — and the care they take in selecting the right artist — means these commissions attract quality-focused, high-value clients.
Rendering Fur: The Core Technique
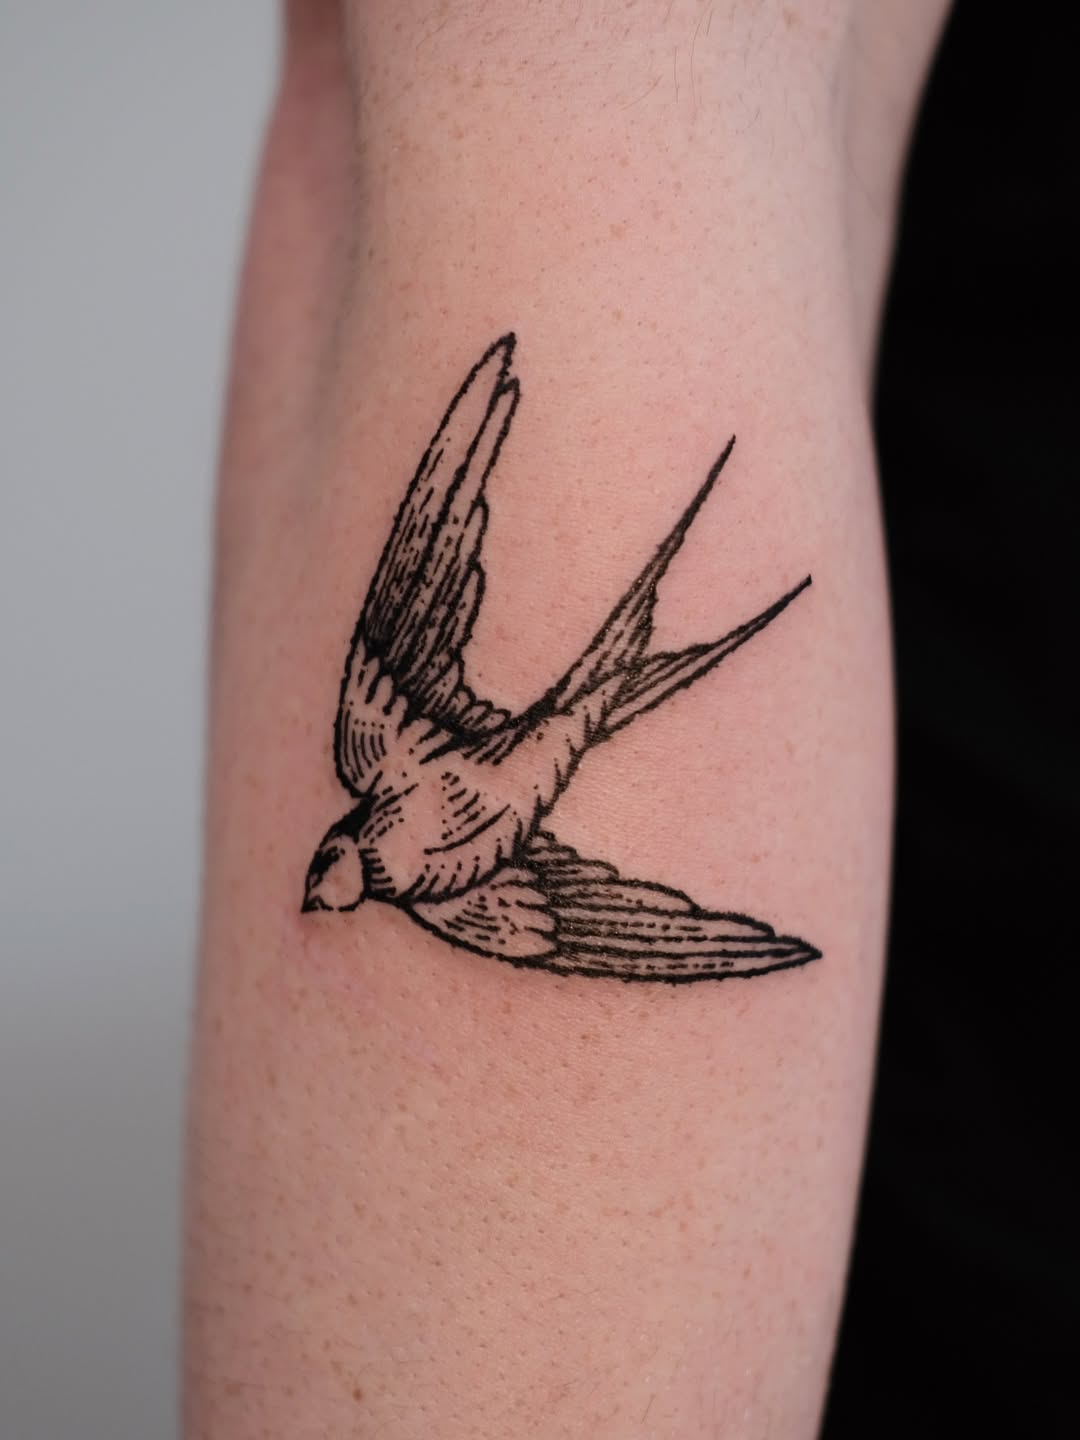
Fur is the most commonly encountered texture in animal realism, and it’s one of the more technically accessible — not simple, but with a learnable, systematic approach:
Understand the coat structure: Real fur has multiple layers. The outer guard hairs are longer, coarser, and often lighter-tipped. The underfur is shorter, denser, and darker. Understanding this layering tells you how to organise your strokes: darker, denser strokes for the underfur base layer; lighter, longer individual strokes for the outer coat.
Direction mapping: Every area of an animal’s coat has a consistent growth direction that follows the animal’s anatomy — a map you should identify from your reference before beginning. Getting the direction wrong in even one area creates a dissonant, unconvincing result.
Stroke technique: Use a liner needle (3RL or 5RL) for individual hair strokes in the outer coat. Strokes should begin confidently and taper at the tip — either by lifting away from the skin or by reducing machine speed at the end of the stroke. Variable stroke length and occasional doubling of strokes creates realism; perfectly uniform strokes look mechanical.
Tonal base first: Before adding hair strokes, establish the tonal base of the fur area with a soft wash using a curved magnum. This base establishes the depth within the coat and provides the dark substrate against which lighter hair strokes will read clearly.
Rendering Feathers: Structure and Iridescence
Feathers are more geometrically structured than fur but equally demanding in their own way:
The shaft as your anchor: Every feather has a central shaft (rachis) that runs from base to tip. This is your structural reference — establish it first before adding any barb detail. The shaft’s curvature, its thickness at the base tapering toward the tip, and its position within the feather define the entire surrounding structure.
Barb direction and density: Barbs radiate outward from the shaft at a consistent angle, becoming finer and more tightly spaced toward the feather’s outer edge. Vary the density — barbs near the base of a flight feather are separated by visible gaps; those toward the outer vane are tighter.
Iridescence in coloured feathers: In black and grey work, iridescence is suggested through careful highlight management — areas of the feather that catch light most directly are left almost white, creating the impression of sheen without colour. This is one of the most impressive effects in black and grey wildlife work when executed well.
Texture variety within a single bird: Different feather types on the same bird have distinct textures — fluffy body feathers versus rigid flight feathers versus fine head feathers. Rendering these distinctions within a single composition is what separates advanced wildlife work from basic representations.
Rendering Scales: Geometry Meets Organic Form
Reptile scales are a departure from the organic, flowing quality of fur and feathers — they’re geometric, repeated, and three-dimensionally structured:
Grid structure and overlay: Scales follow a regular overlapping pattern that follows the body’s underlying anatomy. Before placing individual scales, lightly map the overall scale grid on your stencil — understanding the underlying geometry makes each individual scale placement logical rather than improvised.
Each scale as a three-dimensional form: Individual scales are not flat shapes but slightly convex surfaces that catch light on their upper edge and fall into shadow at their lower edge and beneath adjacent scales. Rendering this micro-dimensional quality within each scale — a consistent highlight on the upper portion, a shadow at the bottom — is what creates the dimensional quality of realistic scale work.
Tonal variation across the body: Scale colour/tone varies significantly across a reptile’s body — darker on the dorsal surface, lighter on the ventral, with complex transition patterns at the sides. Your tonal map for scale work must account for this body-wide variation in addition to the local dimension within each scale.
Reference Quality for Wildlife Realism
The quality of your reference material is particularly important for wildlife subjects because most clients don’t have the same intimate familiarity with their reference subject that they do with a human face. They trust you to render the animal accurately.
For pet portraits, guide clients toward providing multiple reference photos — different angles, different lighting, different distances — and select the strongest available reference for the tattoo rather than working with whatever arrives first. For wildlife subjects, build a personal reference library of high-resolution animal photography — wildlife photography sites and nature documentation archives are excellent sources.